How To: Extract & Back Up All of Your Text Messages on Android
It always helps to be prepared for the worst. This applies to our phones now more than ever, as we depend on them to be our record keepers for text messages from friends, family, and coworkers. If you ever lose or severely damage your phone, having a backup of your precious texts gives you the peace of mind of knowing that you can always get them back.Thankfully, there's a tried and true app for doing exactly this on any Android device. SMS Backup & Restore can handle all your SMS backup needs, and it's totally free to install. It's also pretty easy to use, and it lets you upload your files directly to Google Drive, OneDrive, Dropbox, or your PC for instant access. Best of all, the app lets you schedule automatic backups for hassle-free saving of vital data.
Step 1: Download SMS Backup & RestoreBefore getting started, you'll first need to either head over to the Google Play Store and install SMS Backup & Restore by developer SyncTech, or simply tap on the link right below.Install SMS Backup & Restore for free from the Google Play Store
Step 2: Open SMS Backup & RestoreNext, open SMS Backup & Restore on your Android, then tap on "Get Started" to proceed. The app will need permission to access data like your contacts and messages for backup purposes, so tap "Allow" on the prompts that appear. Tap on "Set Up a Backup" after granting the app all the necessary permissions.
Step 3: Create a Backup FileIn addition saving text messages, SMS Backup & Restore also gives you the option of backing up call logs for posterity, which is enabled alongside "Messages" by default. You can disable this feature if you'd like — just tap on the toggle next to "Phone calls."Selecting "Advanced Options" gives you more settings to tweak, such as whether or not to include media files and emojis in your backups. We recommend that you disable the "Emojis & special characters" toggle, however, since it might interfere with backup retrieval outside the app. If you want to back up only specific conversations, tap on "Selected conversations only" then hit "0 conversations selected" to go to the selection page. From there, simply tap on the conversations you wish to preserve, then go back to the setup page after making your selections by hitting your back button. Tap on "Next" on the lower-right corner once you've set everything up to your liking.
Step 4: Select a Backup DestinationNow, the app will ask you where you'd like to store copies of your backups, so either tap one or all of the toggles next to "Google Drive," "Dropbox," or "OneDrive," depending on your preference. You can also choose your own device as a backup destination, though it's not recommended since data recovery may become impossible if your device is ever damaged or lost.If you still wish to save your backups to your phone, however, skip down to Step 6 to learn more. That said, once you've enabled any of the cloud-based accounts to send your files to, you'll be prompted to log in on a separate page, so hit the "Log In" button to proceed. If you're device is synced with any or all of the accounts listed in the app, a prompt will automatically appear showing the available accounts that are logged in, so choose the desired account from the list provided. If you want to log into another account not synced with your Android device, tap on "Add account" and enter your login credentials when prompted. Once you're logged in, you have the option of choosing which folder within your cloud account you want to send your backup files to (under the "Folder" section), along with with the ability to automatically delete older backups that pass a certain number of days. Any previous backups performed are available for you to view by simply hitting "Show History."
Step 5: Save Backup FileWith everything set up to your liking, it's time to perform a backup. So tap on "Save" in the lower-right corner of the page, then tap on the toggles directly under "Only Upload" if you want to perform the task while "Over Wi-Fi" or "While Charging." Hit "Next" in the lower-right corner of the screen to proceed. You'll now be taken to a setup page where you can opt to automatically schedule your backups by tapping on the toggle next to "Schedule recurring backups." From there, you can choose between "Daily," "Weekly," and "Hourly" backups, and you can choose the time and day you wish for the process to kick in.If you wish to bypass Doze Mode to ensure that backups are performed even when your phone is in deep sleep, enable the toggle next to "Run scheduled backups at exact time." If you don't want to receive notifications each time a backup is performed, make sure the toggle next to "Disable notifications" is turned on.Instead of waiting on a scheduled backup, you should make a manual backup this first time. So hit "Back Up Now," but keep in mind that you won't need to do this again in the future (backups will happen automatically if you've followed this guide). Once your first backup has completed, you can view its details
Step 6: Save a Backup on Your Device (Optional)If you want back up your text history to your device instead of the cloud, tap on "Your phone" on the setup page, then set the destination folder to either the app's folder (SMSBackupRestore on your SD card or internal storage) or "Your own folder" (any folder of your choosing).It's important to keep track of the destination folder, as you'll need it later on to retrieve your files from an external source. Hit "Next" on the lower-right corner when you've selected a folder, then tap "Yes" on the warning prompt to commence.You'll now be taken to a page to schedule automatic backups and enable other options. For more on this, refer to the bottom half of Step 5.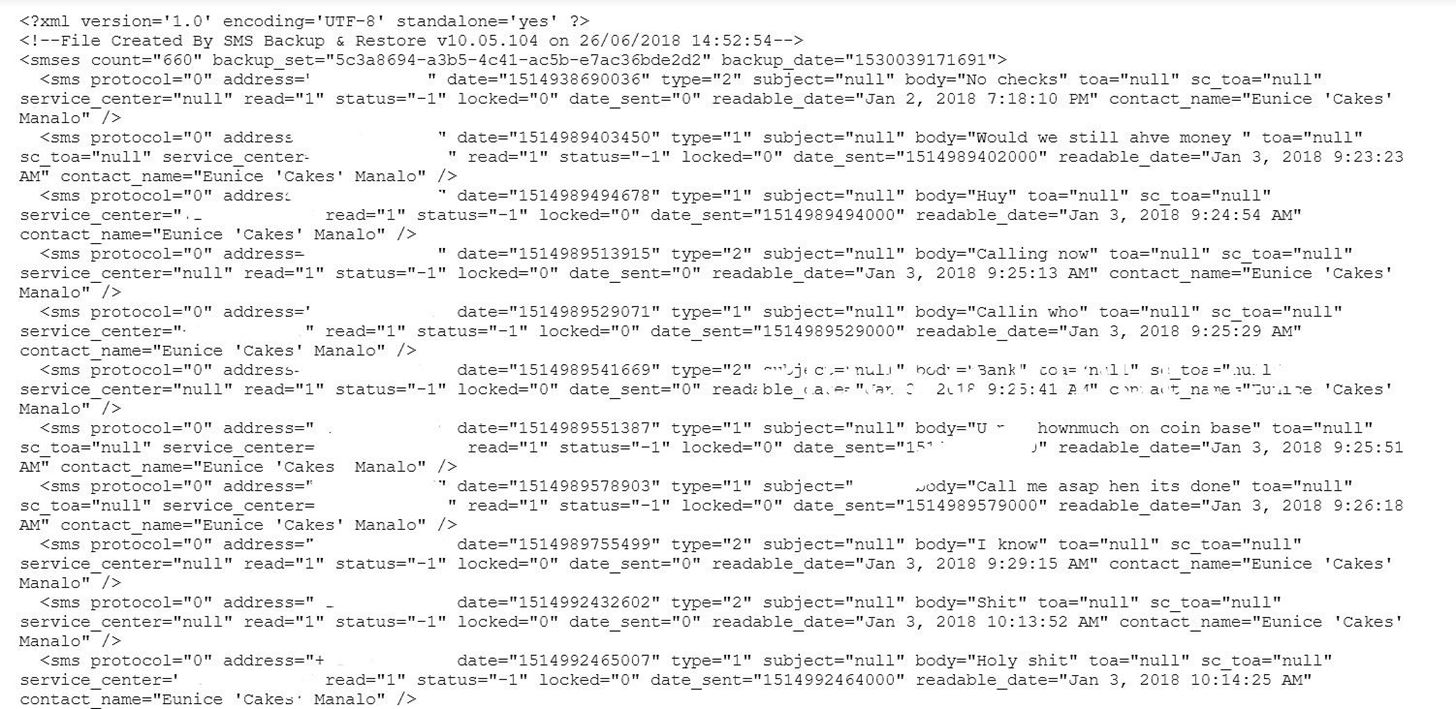
Step 7: View Backup Messages on Your PCWith your SMS texts and phone calls successfully backed up, you'll now be able to view them at any time simply by logging in to the cloud-based account you had the files sent to and clicking on the XML file that starts with "SMS" followed by the date the backup was performed (example: sms-20180626123456.xml). If you opted to store your backups on your device, you'll need to plug your phone to your PC using a USB cable. After doing so, allow your PC to access your device by either granting it permission from the prompt that appears, or set it to "Transfer Files" by tapping on the USB options tab from within your notifications panel. From there, go to your PC and and click on "Open device to view files" from the window that appears to access your Android's files, then navigate to the folder where you sent your backup files. Click on the backup file once you've found it, and it'll open up on a new browser window for you to view in full.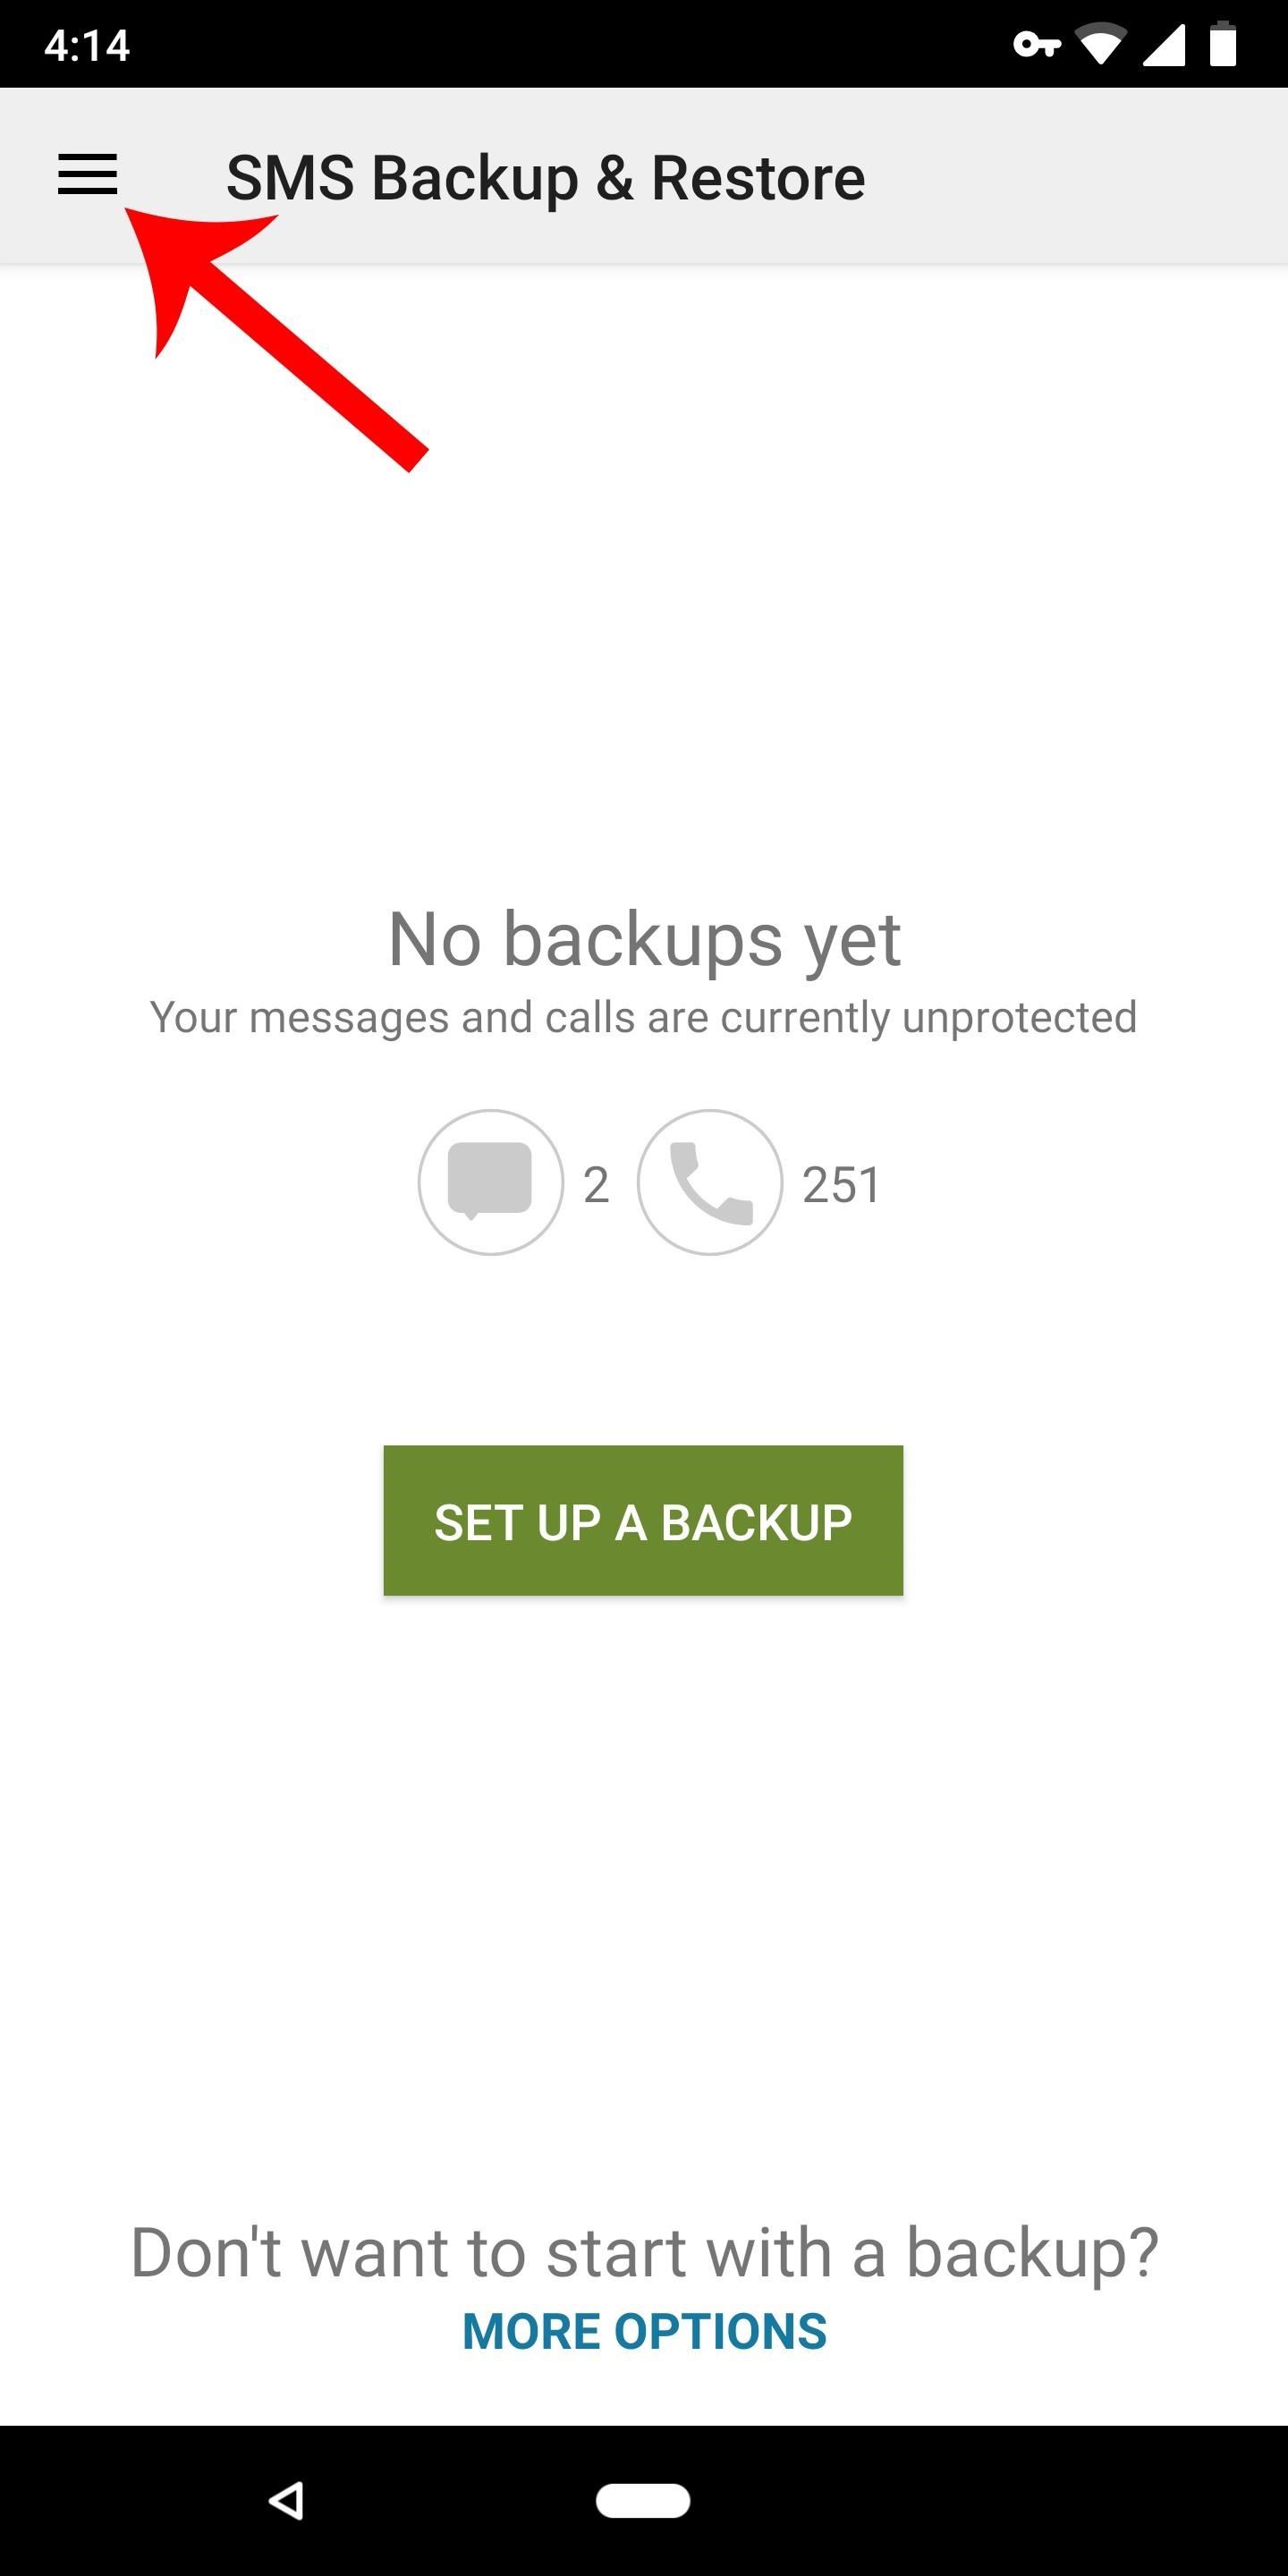
Step 8: Restore Backups on a New Android DeviceNow that your SMS messages and call logs are safely backed up, you're ready for the worst case scenario. If something happens to your current phone or if you just buy a new phone, you can easily restore your messages and call logs.To do so, repeat steps 1 and 2 on the new device, then head to the side navigation menu in SMS Backup & Restore and select "Restore." From there, choose your cloud storage account, log in, then select the backup file you viewed in Step 7. Don't Miss: Android Security 101 — Various Ways to Keep Your Devices & Privacy SafeFollow Gadget Hacks on Facebook, Twitter, YouTube, and Flipboard Follow WonderHowTo on Facebook, Twitter, Pinterest, and Flipboard
Cover image and screenshots by Amboy Manalo/Gadget Hacks
Culture Leer en español Royal Caribbean's high-tech ship lets you be lazier than ever. Self-driving shuttles. Servers who'll find you anywhere to give you a drink.
Redditors who switched from Android phones to iPhone - what
With a Gmail plugin called Boomerang, you can find out what sent emails are never opened, and you can even keep track of the received emails in your inbox that are awaiting your response using a small Google Apps script.
How to force an email response from someone who is ignoring you
how to download google maps + nav app to Lumia 810 phone This thread is locked. You can follow the question or vote as helpful, but you cannot reply to this thread.
HERE WeGo
How to SSH into iPhone/iPod Touch using WinSCP (Windows)
Movies & TV; Cinemark may not be as big as AMC Theatres, but it also has a subscription if you want cheaper access to movie tickets. There aren't as many theaters, but if there's no AMC around you, there will likely be a Cinemark to save the day. But is the price of its Movie Club plan worth it?
Hot Posts — Page 16 of 24 « WonderHowTo
Have Windows xp. How do you empty cache? Thanks. Thank you for the 'empty cache'/clear cookies advice. I read on to the Start/Run/%TEMP% command to open the Temporary Internet Files Folder
How to clear the cache in windows xp - ehow.co.uk
How To: Add Floating Live Animations to Any Custom Wallpaper on a Galaxy Note 3 How To: Customize the Windows 10 Lock Screen How To: Add iOS 7-Style Blur Effects to Backgrounds on Your Samsung Galaxy Note 3 How To: Missing Time in Windows 8? Add a Free Live Tile Clock to Your Start Screen
Make the AccuWeather Widget Transparent on Your Samsung
The magical browser is Mozilla Firefox and the extensions/add-ons developed by the professional ethical hackers and penetration testers.. In this article I will tell you some of the best add-ons of all time that hackers use….
Microsoft Launch Application Guard Extension For FireFox and
Email was not designed for sending large files, and almost all mail servers will only allow attachments of 10 MB. Yahoo and Gmail will allow up to 20 MB, but if you have a large email to send, such as a group of photos, video files or other large attachments, the email will not go through.
7 zip - How to split large file on Windows? - Super User
Here's how the Galaxy S6 edge display will look with Marshmallow. The update will more than double the width of the dual Edge screen to 550 pixels, from 260 pixels, which not only enhances previous features—like People edge and Apps edge—but adds new ones like "Task edge" and "Quick tools" so that you can do even more with your phone.
How to Take a Screenshot on Any Smartphone or Tablet
The Roku is one of the most popular streaming devices because you can get apps for nearly any streaming service on your Roku player. With the Roku Channel Store, you can browse both free and paid apps for movies, music, and TV shows. Along with getting all of the apps you want, Roku makes it easy to find those apps when you're ready to watch
7 Streaming TV Packages That Will Let You Cut the - money.com
money.com/money/3963077/streaming-packages-cord-cutting-cable/
SAVE: $540 A YEAR. THE PLAN: 12 seasons of shows. If you have unpredictable tastes but focus on only one show at a time, it might make the most sense to buy your television à la carte. For the amount you'd save by switching from cable to just Internet service (about $900 a year), you can pick up 30 seasons of TV for $30 each.
Time For a Different Workout | Take the Daily Burn Challenge
AD
Consumer Reports' tests settle the chipgate controversy, confirming that there's no appreciable battery-life differences between iPhones 6s models with Samsung or TSMC chips.
How to Check If Your iPhone Needs a New Battery - iDrop News
How To: Use the Panorama tab manager in the Mozilla Firefox web browser How To: Use multiple start-up pages in your web browser How To: Surf in Firefox using mouse gestures How To: Save and restore tabs in the Google Chrome web browser
Best web browser 2019: Chrome, Edge, Firefox, and Opera face
0 komentar:
Posting Komentar